Time is gold, and this is not just a quote or a figure of speech. Every hour we waste on waiting on long queues, heavy traffic, or poor service is time we could have spent doing something else productive. This is especially true when processing requirements like birth certificates and other legal documents.
Luckily with the advancement of technology, Philippine Statistics Authority or PSA (formerly known as National Statistics Office) launched their online application service. They have partnered with Pilipinas Teleserv where you can also apply for an NSO/PSA Certificate.
Ecensus.com.ph promises to have your documents delivered within 3-5 working days after payment within areas in Metro Manila, Metro Cebu and Metro Davao, 4-9 working days after payment in other locations within the Philippines and 5 to 8 weeks for other countries.
Nsohelpline.com promises faster delivery with 2-3 working days of delivery after payment of fees. However as of Feb 2017, nsohelpline.com has slightly higher fees (Php 350 for Birth/Marriage/Death Certificates and Php 450 for CENOMAR or Certificate of No Marriage) compared to ecensus.com.ph with only Php315 and Php 415 for Birth/Marriage/Death Certificates and CENOMAR respectively.
Here we will show you how to apply for your PSA/NSO Certificate Online. Take note that it is a tutorial for obtaining your certificate via the NSO Helpline website.
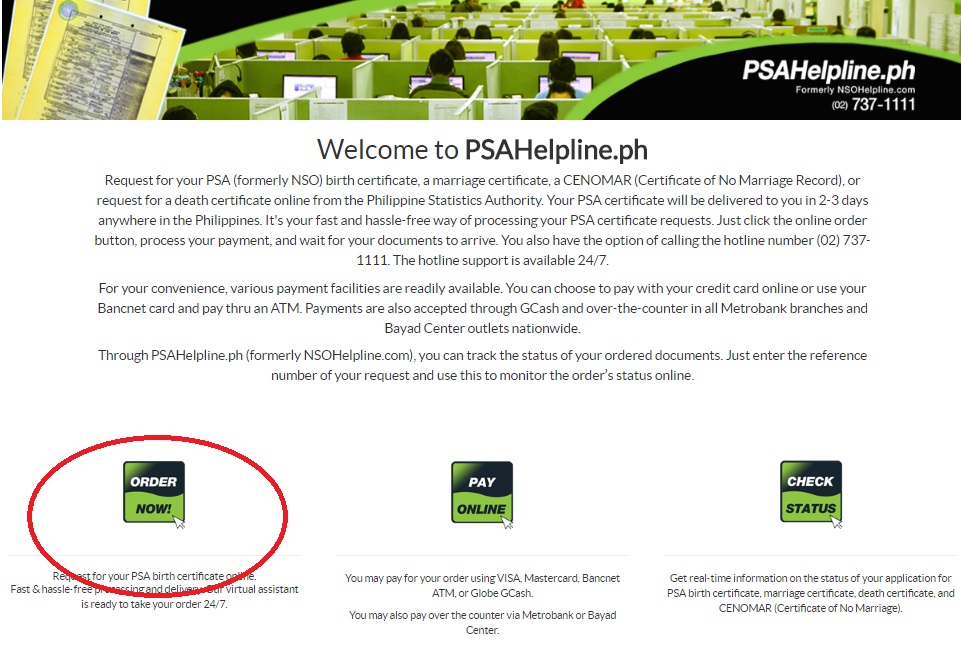
- Go to www.nsohelpline.ph. Click “Order Now.”
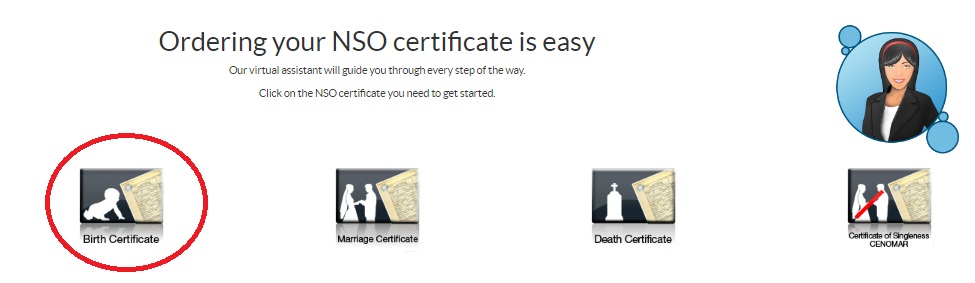
- Select which document you want to order, let us take Birth Certificate for example.
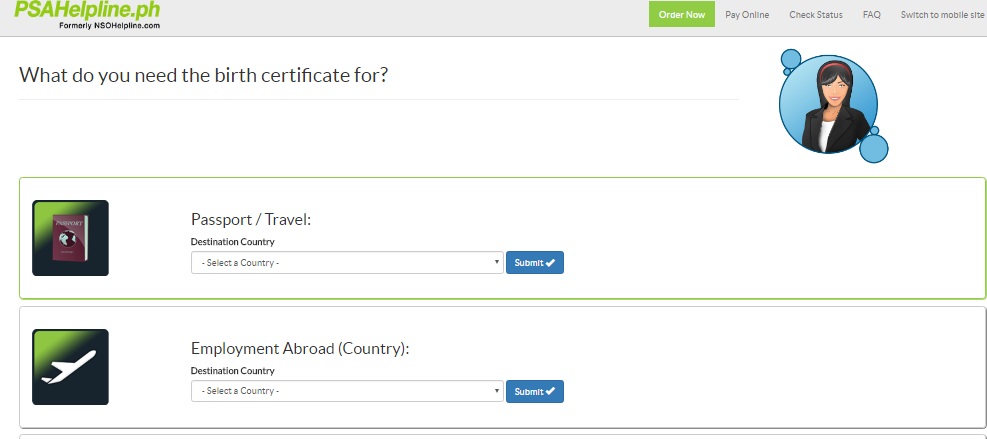
- You will then be prompted to select the purpose of your certificate.
- You will be asked if it is your first time to apply for a copy.
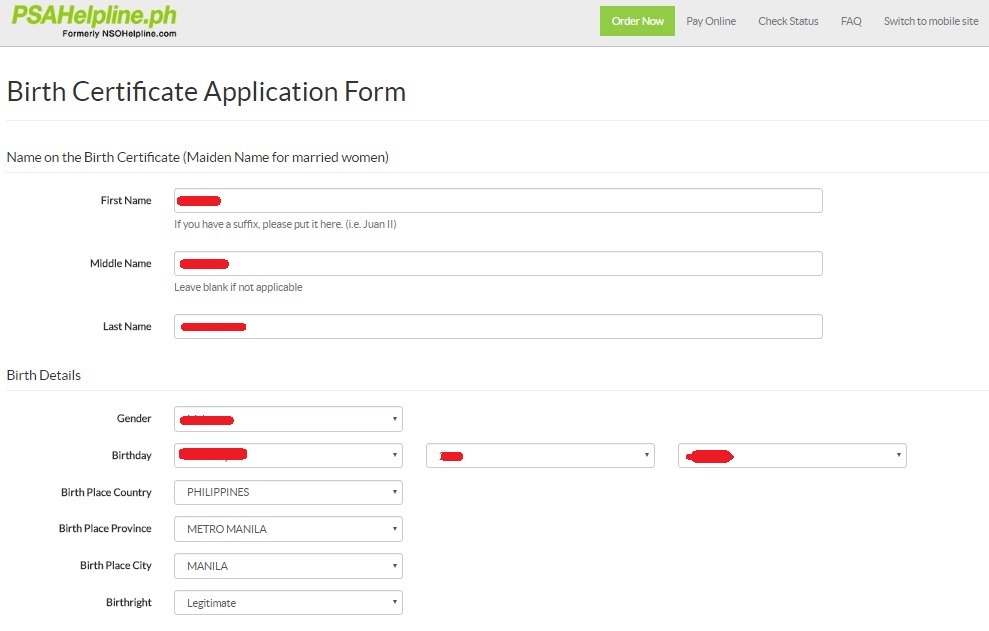
- Fill out the Certificate Application Form. Make sure all information are correct and accurate to avoid delays in your application.
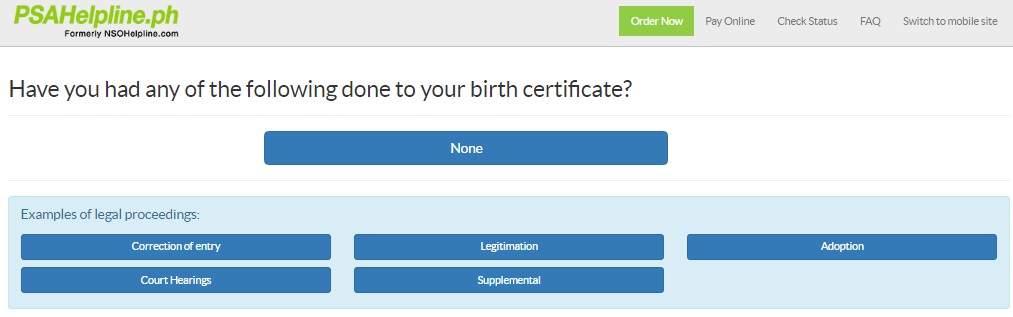
- The next page would prompt you for any legal proceedings like legitimation, adoption, court hearing etc. If not, just click ‘None.’

- Specify the name of the person to receive the document. If you will receive it yourself, simply put your name. If not, you need to secure an authorization letter for the person receiving it in your behalf. He or she also needs to have one valid ID.
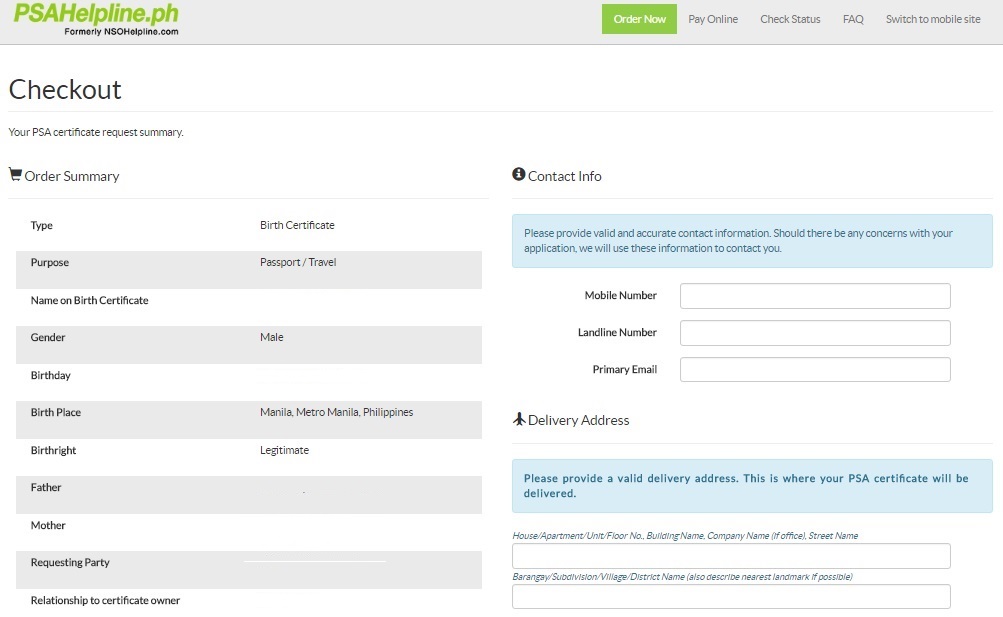
- Verify that all the information you have filled in is correct. On the right, enter your Contact info and Delivery address. On the bottom part, you will find the ‘Check Out Summary,’ you need to certify all entries by ticking the checkbox before clicking continue.
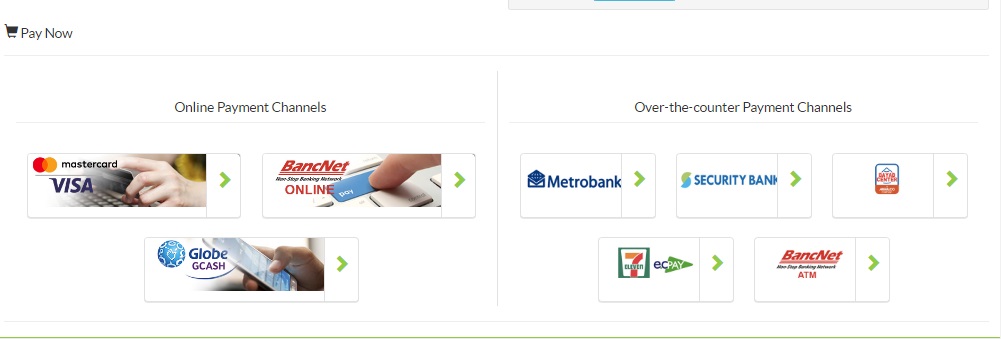
- The next step is the payment of you processing fee. You can select different payment options like over-the-counter via Bayad Center and Metrobank, Online Visa or Mastercard credit/debit card, Bancnet ATM or Globe Gcash.
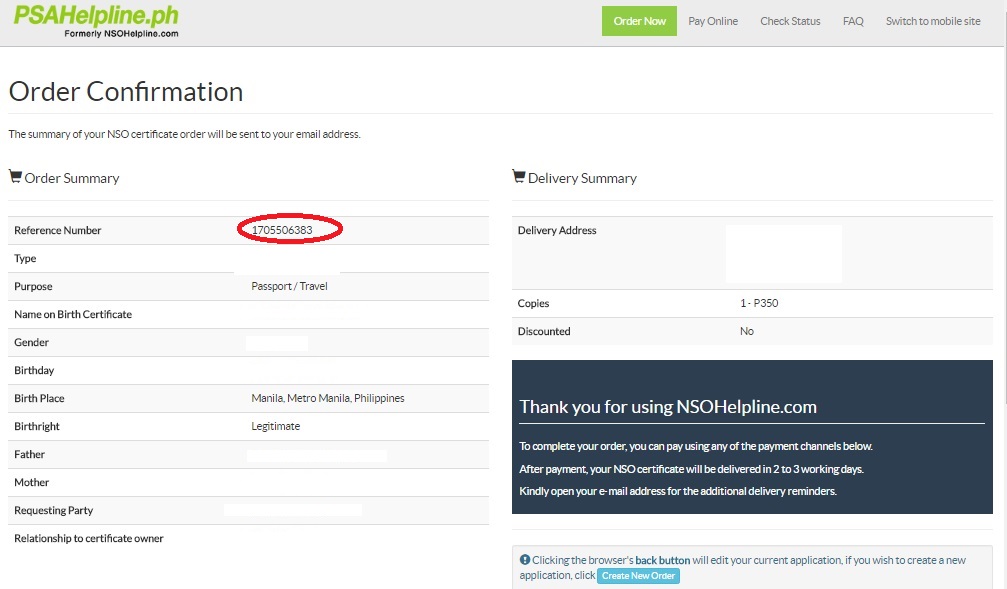
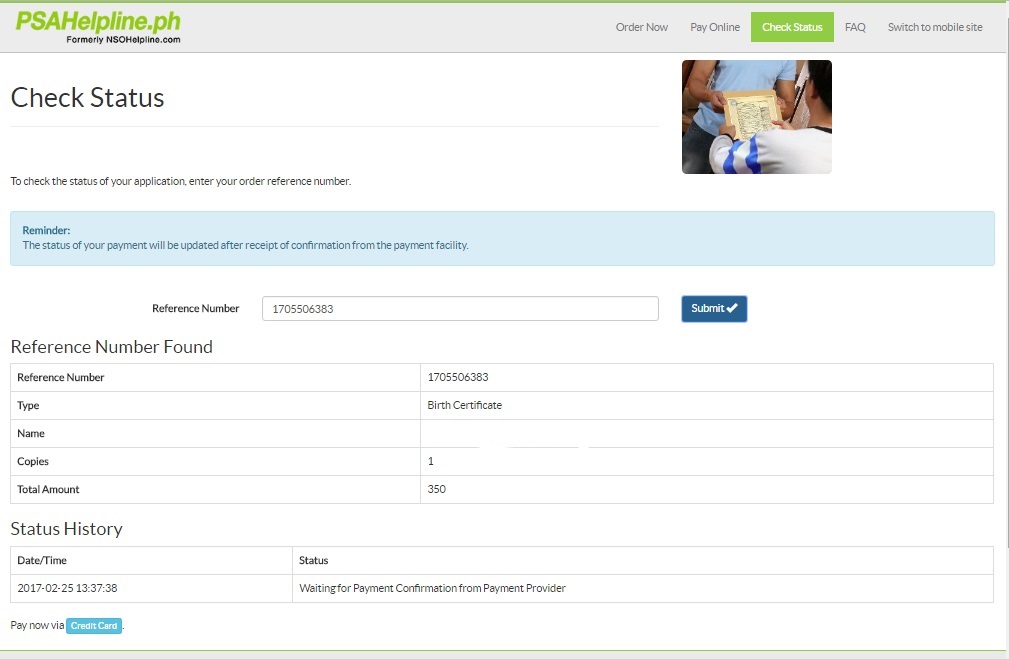
- It is important to take note of your Reference number so you could check the status of your order through the ‘Check Status’ section. Just cue in your reference number and click submit.
Make sure that all information you provided is correct so you would not experience delay on your transaction. Also, you could indicate landmarks when submitting your address so the delivery man would have little trouble finding your place.